If you see an “allowed memory size exhausted†error in WordPress, this is one of the most commonly seen WordPress errors. You can quickly resolve this issue by increasing the PHP memory limit.Â
Example error message is below
===
Fatal error
Allowed memory size of 33554432 bytes exhausted (tried to allocate 2348617 bytes) in /home4/xxx/public_html/wp-includes/plugin.php on line xxx
===
Increase the PHP Memory Limit using PHP Selector in cPanel.
All our Shared Hosting Plans have the PHP Selector enabled in cPanel. This gives you full control over the PHP Version and the PHP options and limits and you can easily configure specific PHP setup for your account.Â
You do not need to contact our support team, however if you require any helps please do contact support or create a ticket.Â
In order to change the memory_limit and upload_max_filesize values, you need to access your cPanel account first.
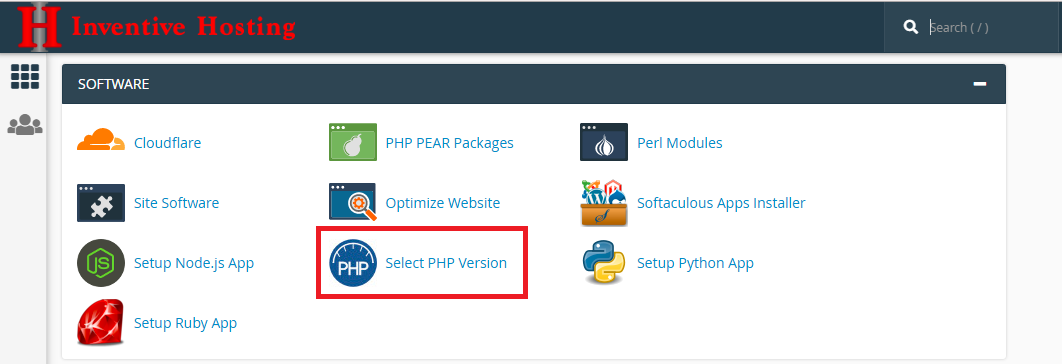
Once logged in, locate the Software and Services section on the page and click on Select PHP Version.Â
At the top right corner of the screen, you will notice a button named Switch To PHP Settings.Â
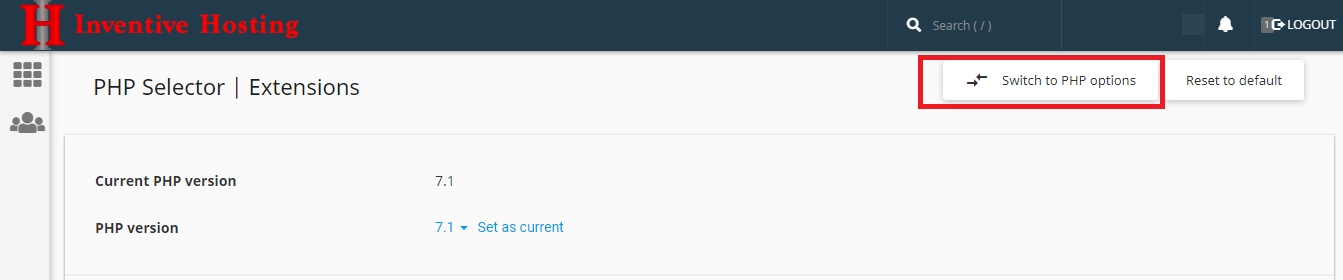
Click this link and you will be able to change the memory_limit and upload_max_filesize values to the ones you need for your application;
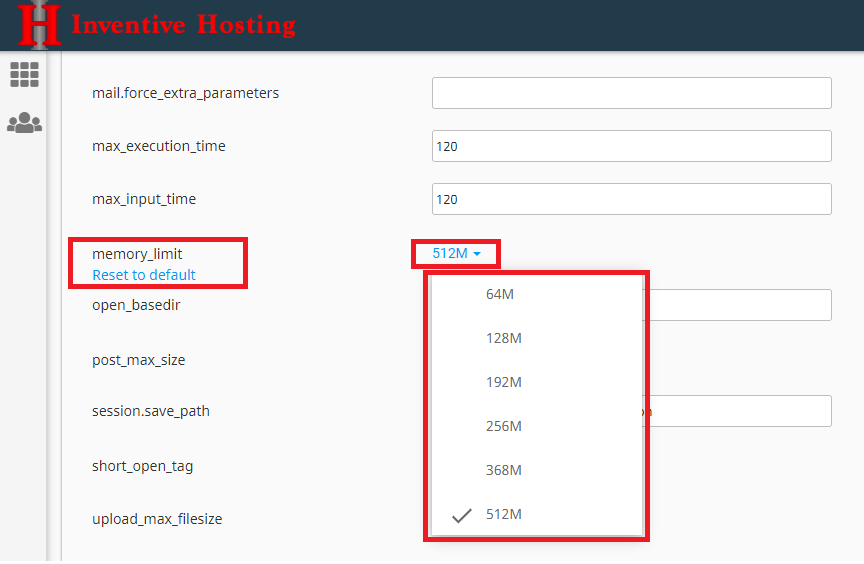
Once you select your required value, you will see a message saying it has automatically been saved.
You can increase the memory limit of the application
Many WordPress themes and plugins that require the memory limit of the application to be increased. How can this be achieved? It is relatively easy, and all you have to do is locate the wp-config.php file and add the following line:
define ('WP_MEMORY_LIMIT', '512M');
Contact us for Assistance
Please feel free to submit a ticket via your Client Area with us if you have any issues or you require further information or help.
Â
